How to choose curtains, how to pick drapery, what hardware? What color? Where do you start? Are there any guidelines, or rules to follow? What about the style of the room or how do I pick curtain color if I don’t know what the color of the sofa might be?
How to choose curtains is very lucrative
If you know how to choose window coverings, you are part of an elite few in the Interior Design and Decorating industry; it’s one of the most lucrative elements of the decor business. It can take very little time and effort on the part of the professional to make the choices IF they know how to make them. How they learn to choose window coverings is by learning the process first.
It isn’t just picking something out of thin air and hoping the curtains or drapery will fit in. Or hoping that the color of the curtains will work with the rest of the room. Or that the length of the curtains is correct. It’s taking everything into consideration and making an informed decision.
How to choose curtains, the process
It’s a process of elimination, in a nutshell.
Here’s the summary:
1. Talk to the client
2. Measure and inspect the windows.
3. Consider the room usage and style, the client wants and needs. And the budget.
4. Choose at least one, and preferably three, styles most fitting these requirements.
5. Choose the fabric to work with the room’s palette and design style.
6. Choose the appropriate hardware.
7. Prepare the renderings, mood and style boards, and costing into the client presentation.
8. Present to the client.
9. Revisit, reconfigure, and re-present if necessary.
There, it’s that simple.
Ok, THAT is being a bit facetious.
Each one of those nine steps relies on a lot of knowledge on the part of the window covering specialist to make the right decision about the possible choices.
That is where the course ‘Learn to Choose Window Coverings’ comes into play. Everything you need to learn to make the right decisions through the nine steps is included.
It’s really like learning any new skill. No one should expect to read one book and be a professional tile-setter. No one should expect to watch a few YouTube videos and be able to practice home dentistry or DIY tax accounting.
Learning how to do this takes a bit of work
And no one should expect to find a book with every possible window covering scenario explained, so that the choice for the client becomes easy.
Every new skill takes work to learn, and proficiency requires time and patience, and learning how to choose curtains, the right color of curtains, the right functioning drapery for a homeowner, and all the rest requires work to learn, too.
But think about this: From lesson one, you will get useable information to make your world better. Right NOW. And understand, too, that you do NOT have to learn every window treatment there is, or every bit of hardware out there.
You start this learning just like every other skill. Start simple and grow. ( In the last 10 years of my window-covering practice, I’ve probably done the same treatments 90% of the time. ) Knowing how to take treatments that fit across many design styles, and adapting them to a particular client, is included in this course.
Here’s a little tidbit, an example of the insider’s info you will get in this course.
An insider’s tidbit about curtain rods
How many different types of curtain rod brackets are there, anyway. There are so many different styles, how are you to ever learn?
There are two types of curtain rods. Two. And that means that there are, basically, two types of curtain rod brackets.
Drop-in or bottom mount.
Top mount.
I doubt you will find a curtain rod on the market today which does not require one of these two brackets.. Ripplefold? Top mount. Oval rod? Bottom mount. Decorative rod with rings? Drop-in. Traversing rod with drawcords and heavy metal brackets? Drop-in. Grommet? Bottom mount. Tension rod for the bathtub? Drop in. I-Beam? Top-mount.
And only certain window treatments will work on certain rods, and those rods require specific brackets. Ripplefold? Needs a channel rod, which requires a top-mount bracket. ( The drapery can run side to side without being impeded by a bracket.) Grommets? Needs a bottom mount/drop-in. ( They can’t run over a bracket and don’t need a channel) Pinch pleated drapery? Channel rod which accommodates the drapery pin on a carrier, which requires a top-mount bracket so the drapery can run unimpeded across the rod.
How to choose curtains, how to pick curtains, how to choose window coverings, how to pick drapery…. What about how to decide what drapery function to use? Where do you start? Are there any guidelines, or rules to follow? What about the style of the room or how do I pick curtain color if I don’t know what the color of the sofa might be?
And here’s a BIG one, what if I can’t draw? How do I get my ideas across to my wonderful client who keeps saying, ‘I just can’t visualize it?’ Keep reading, the solution is here for you.
I just can’t visualize it.
When I started in the business, I could not draw. I still can’t but that’s beside the point.
I decided to find a way to communicate design to my client without me having to draw it for her. At that time ( BC — Before Computers) there were no online resources to check, no Youtube, no Google. I know, I know, how did we EVER manage?
I was living in a city large enough to have adult education classes and there was one called something like ‘Drawing for Adults Who Don’t Think They Can Draw’. I signed up.
The first night (after I’d worked in Chintz and Company for 9 hours, on my feet the whole time,) we were asked to take off a shoe, put it on the desk in front of us, and without looking at the paper, DRAW THE SHOE!
You can imagine my hesitancy at putting the day-worn shoe anywhere other than on the floor, to say nothing of my incredulity that the instructor thought I could draw it WITH looking at it.
But I was there to learn. So I did what I was told:
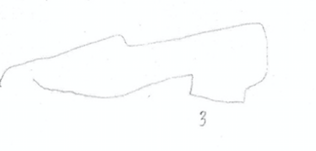
Shoe 1.

We did this several times.
Shoe 2

Shoe 3
Shoe 4

Shoe 5

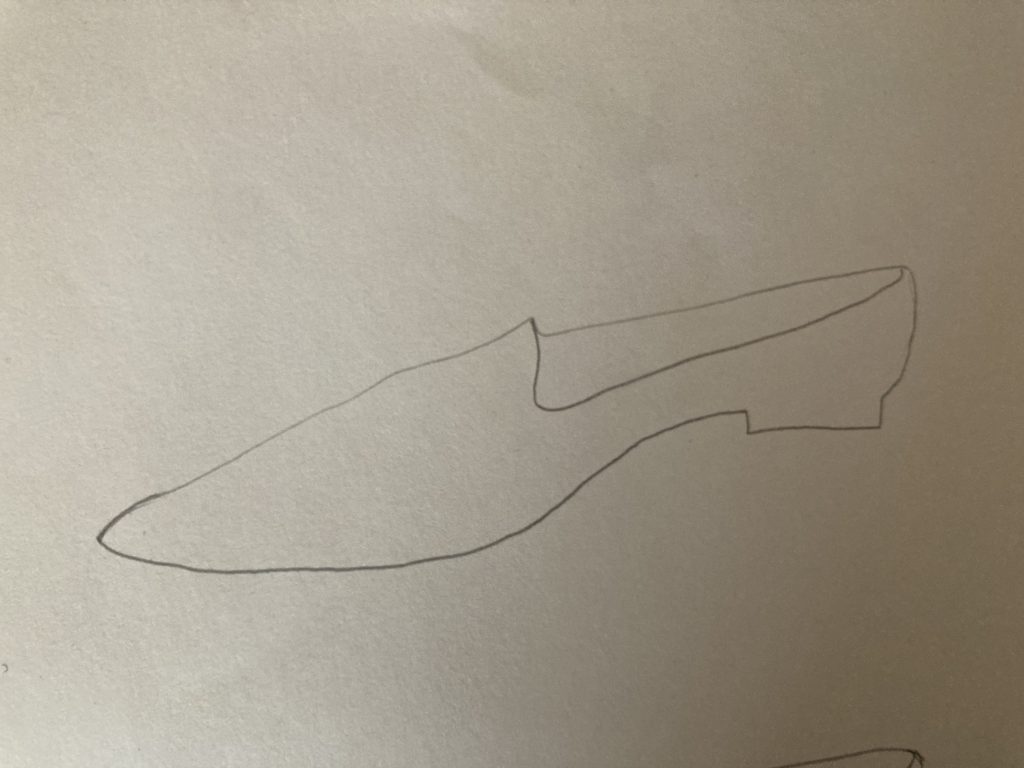
I finally decided to cheat and look at the shoe.
This is what the shoe actually looked like.
I finished the course with this drawing of my hand.
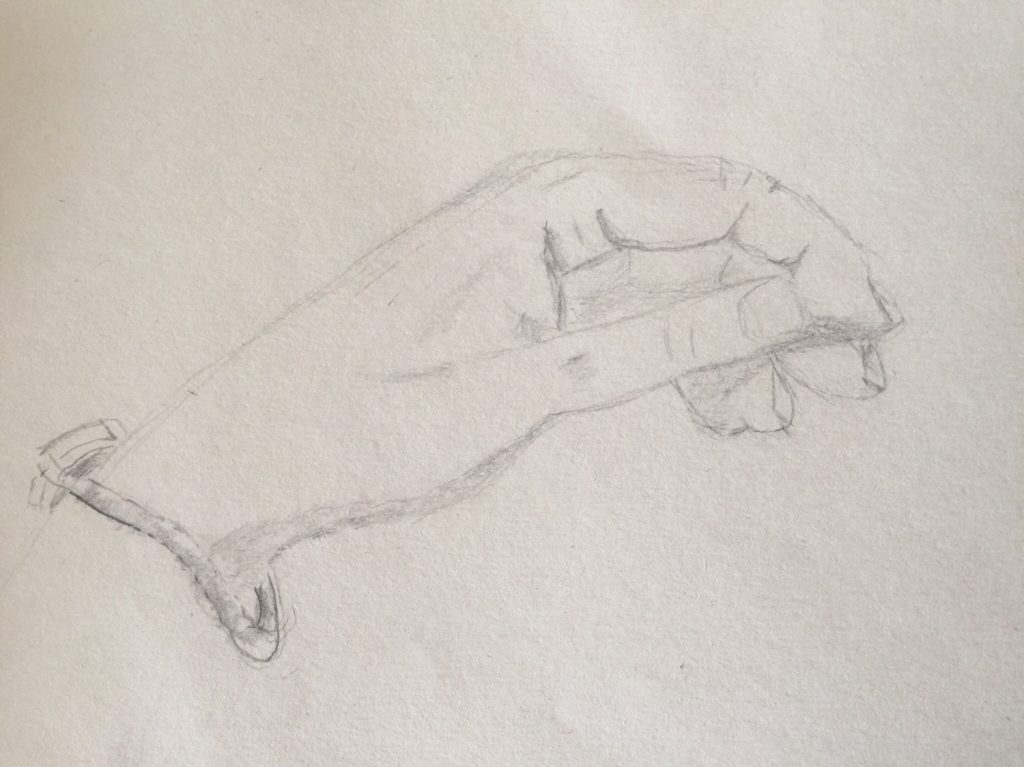
It took me several hours. I realized that my instincts were right all along, drawing the window treatments while sitting with my client in her home was not a viable solution to my problem of helping her visualize my fantastic designs.
I kept looking. I found the black and white drawings of window treatments on clear plastic which got overlayed onto a black and white sketch of a window. Lots of fun, and actually worked if all we wanted to see was one design on one window, with no connotation of the whole room. And the set cost a lot of money. If I remember right, it was about 450.00. The equivalent today would be about 1200.00.
I kept looking, for about ten years. I kept doing scrawls on paper and pointing to pictures in magazines,’ Like this, except we won’t have this curve here, and this will be the fabric, not what’s in the picture, and your window is a lot larger than this, so of course the window treatment will be scaled to the size of your window’. That method worked somewhat. But I didn’t feel professional doing that at all.
The best is yet to come.
I kept looking. By this time, desktop computers were around and I found some software that had a catalog of window treatment designs you could put on a room ‘rendering’ and that helped. A bit of furniture made things a tad more realistic, and the client could get a bit of an idea of what my idea was. A bit.
Then I found a software program that allowed me to take a picture of the client’s window wall, design a treatment on that photo, add the fabric we were considering to SCALE and do that at the client’s home. In about 10 minutes.
It was a game-changer for me. I closed about 95% of the calls I did using the software. The client could see exactly what things were going to look like, there was no more guessing. We could tweak and change and fiddle till we got it exactly right. And I stopped hearing, ‘Well, I just can’t visualize it’.
It changed my business.
This was the start of my window covering business becoming more than just something I dabbled in as a part-time job. I was able to close many more jobs, in less time ( no going back to the office to try to draw something, no more hunting for images in magazines or online, no more second trips) and with higher profit ( because of the time savings) than I’d ever done before.
While the software was expensive at that time, it paid for itself with the first three jobs I sold where I’d used it. It’s available now for a monthly subscription, and the students of the course’ Learn to Choose Window Coverings’ get a really special deal on that.